
Over the next few minutes, you'll be setting up PlayHT On-Prem in your Google Cloud. If you haven’t learned about PlayHT On-Prem yet - consider reading a quick overview.
Here’s what we’ll be doing at a high level:
- Create a new Google Cloud project
- Run a one-liner setup script in the Google Cloud Shell
- Wait less than an hour to receive an email with your own PlayHT On-Prem endpoint
(estimated time: 15 min)
Before you begin!
You’ll need the one-liner setup script we sent to you. It should look like this:
curl https://t9-artifacts.s3.us-west-2.amazonaws.com/tensor9-latest > tensor9 && chmod +x tensor9 && ./tensor9 -action ApplianceSetup -setupKey 0000000000000011:36e44bed03372e554115fa8072e751e4 -autoApprove -gcpProjectId INSERT_YOUR_GCP_PROJECT_ID_HERE -cloudRegion gcp:INSERT_YOUR_GCP_REGION_HERE
If you don’t have one yet, please schedule an onboarding session.
First: Create a new Google Cloud project
Visit the Google Cloud Console to create a new project. The project you create will be the home for your PlayHT On-Prem appliance. We strongly recommend that you create your appliance in a new project that will only be used for PlayHT On-Prem. Using an existing project that has other purposes can lead to problems.
Click on the project drop down:

Click on NEW PROJECT in the upper right corner:
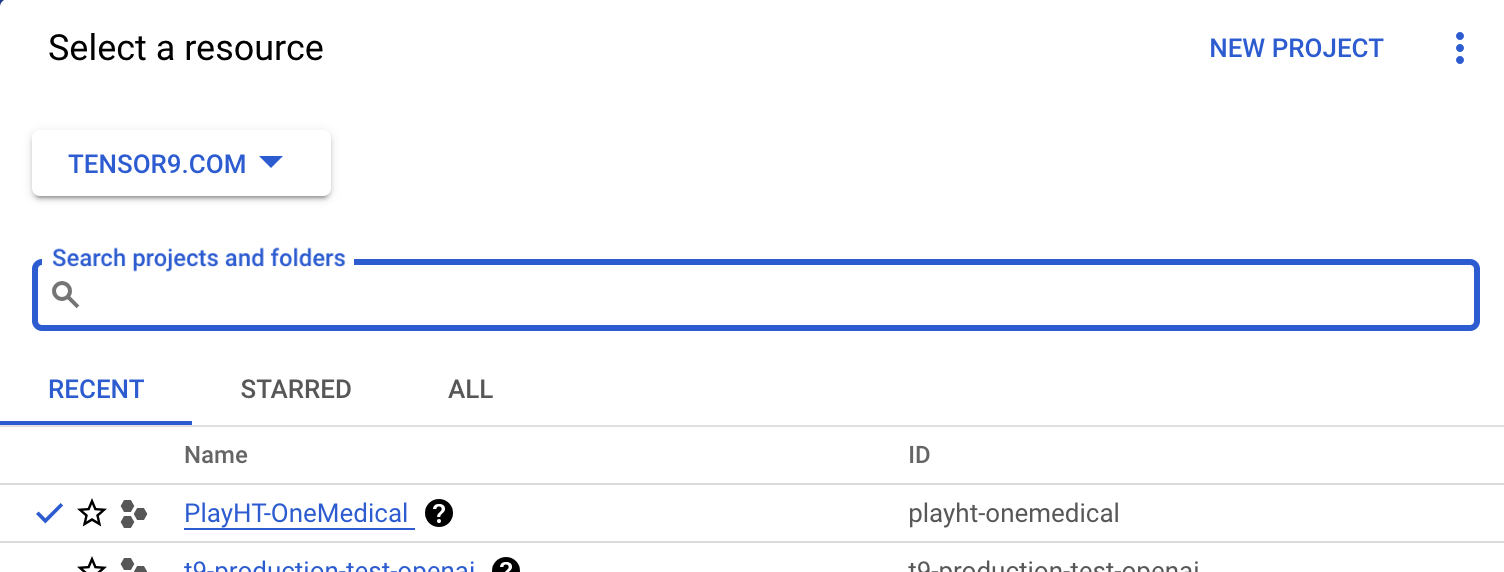

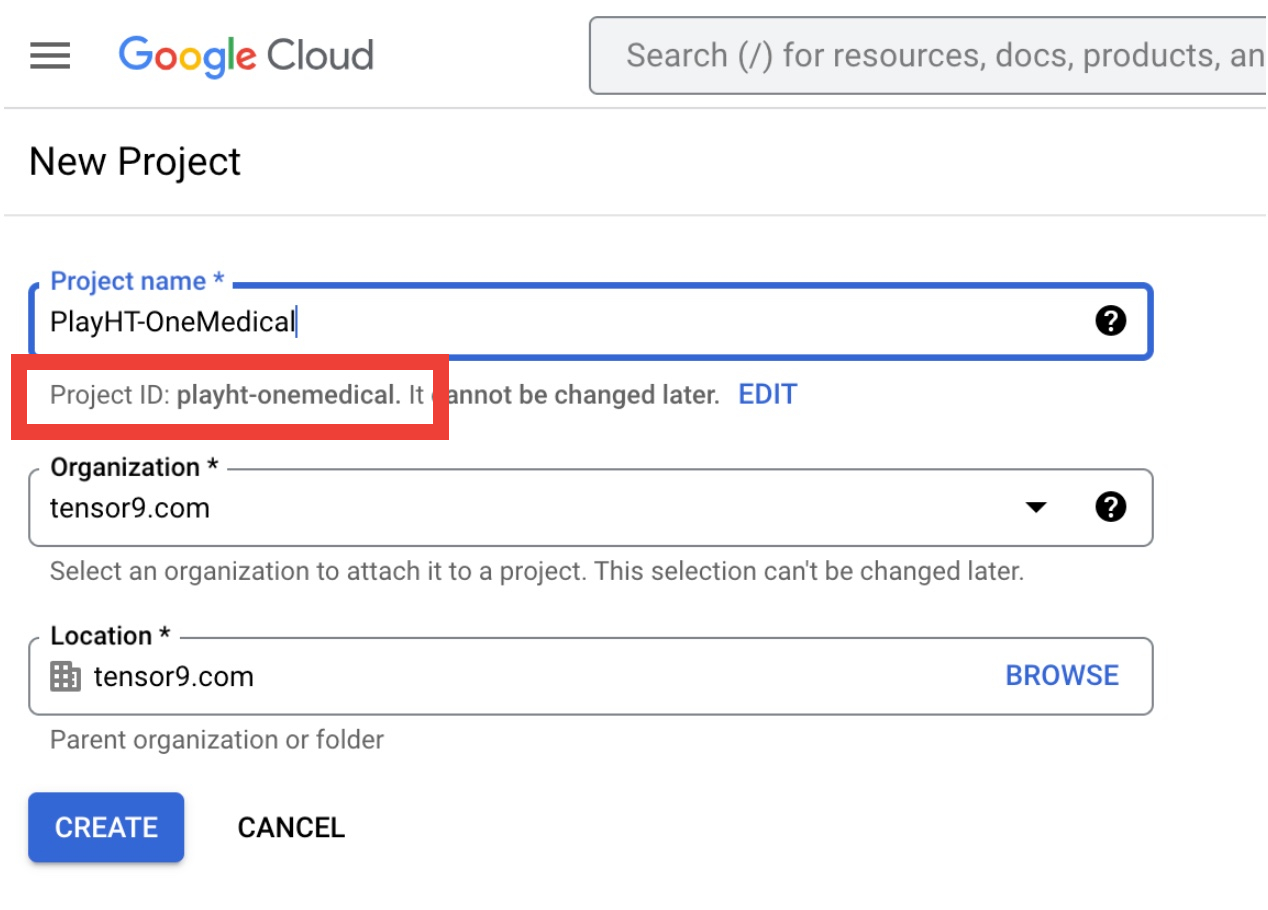
Give your new project a name (like “PlayHT-OneMedical” pictured below). We recommend that you include “PlayHT” in the name. Then click CREATE to create your project. Please save the project ID (“playht-onemedical” marked in the red box below) - for later use.
NOTE: We strongly recommend that you have “Owner” privileges for your new project.
Second: Enable the required Google Cloud APIs
Enable the following Google Cloud APIs for your newly created project:
- Compute Engine API
- Google Cloud Memorystore for Redis API
- Cloud Resource Manager API
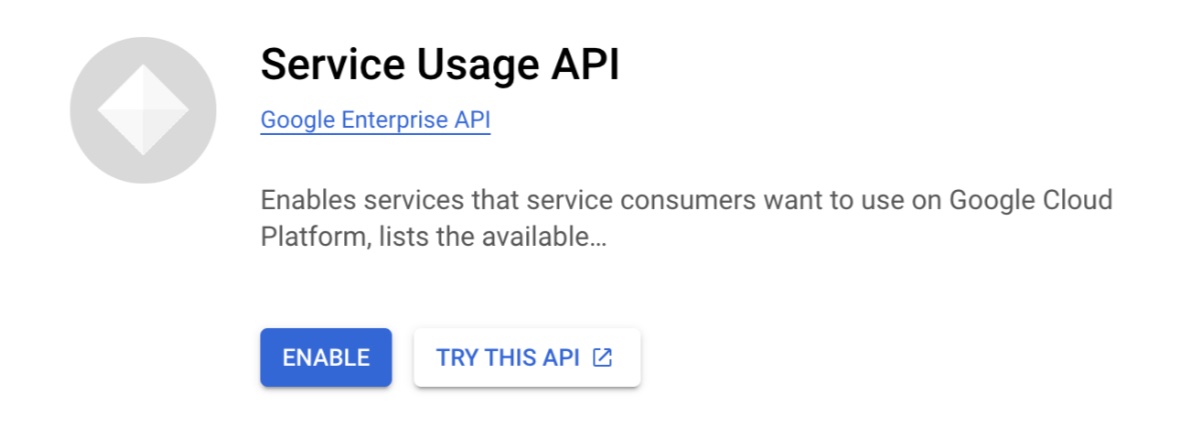
- Service Usage API
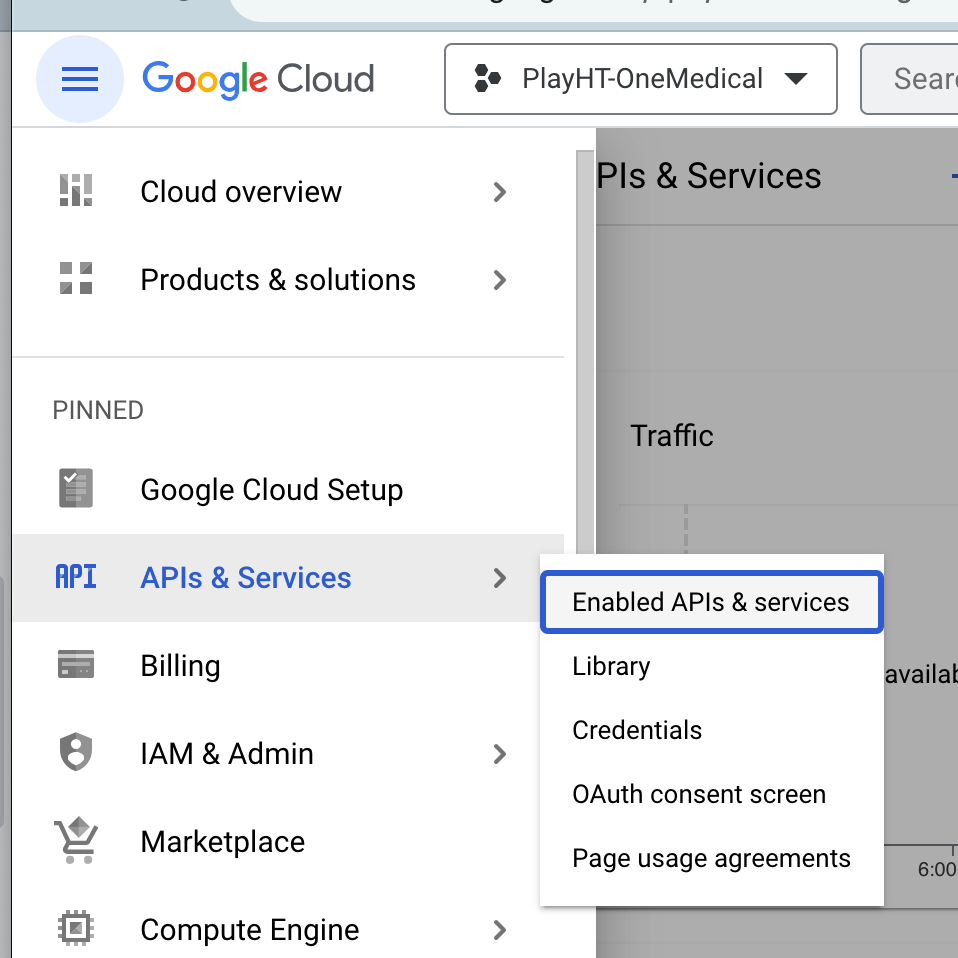
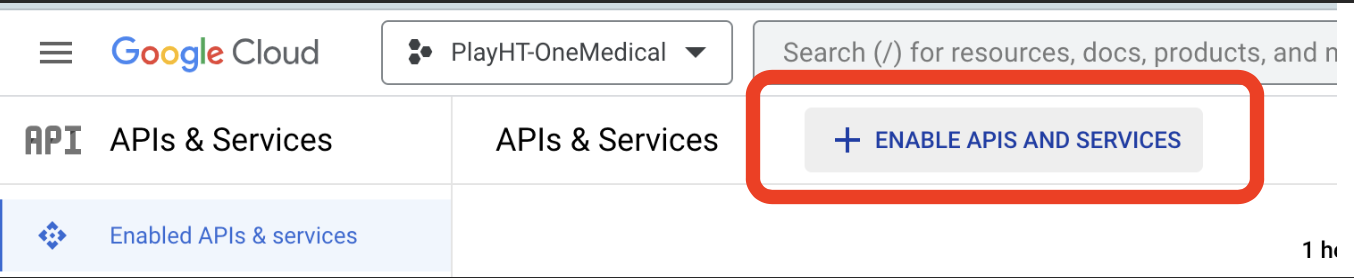
You can find the enable API panel from the hamburger menu. You can search for these APIs after clicking on ENABLE APIS AND SERVICES:
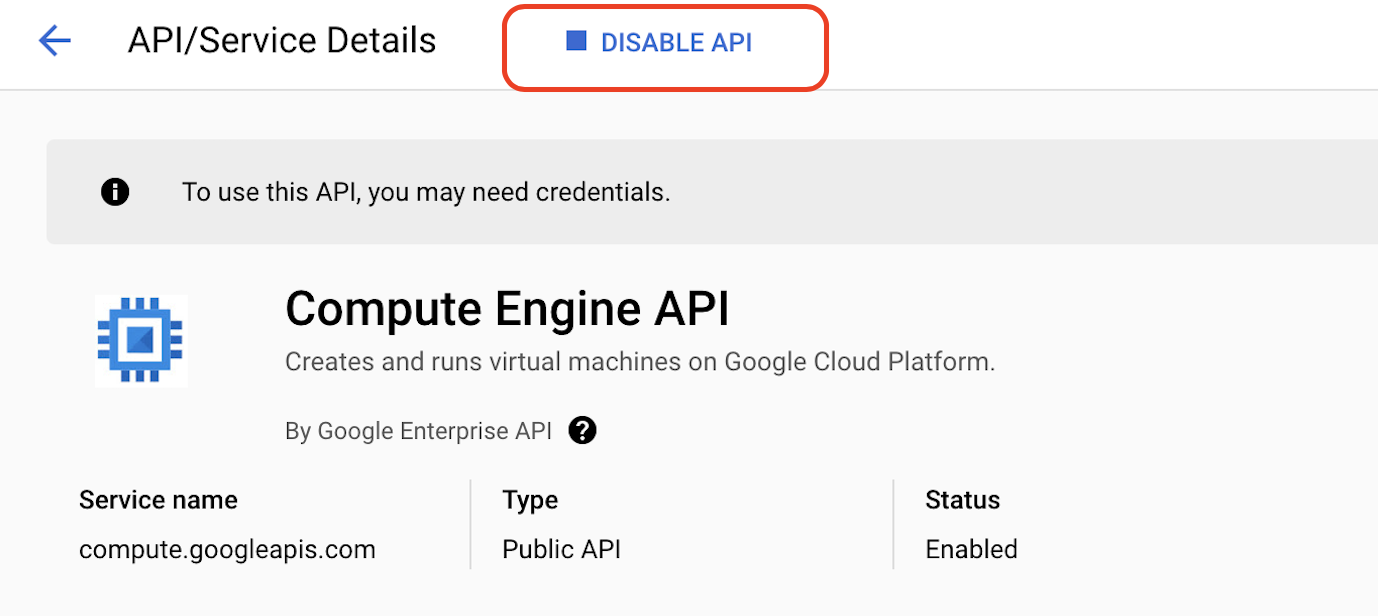
Each API can take a few minutes to enable - so please be patient. For each service, you should see a DISABLE API button if the API has been enabled properly:
Third: Run your setup script in Google Cloud Shell.
Modify the setup script we sent to you, which looks something like this...
curl <https://t9-artifacts.s3.us-west-2.amazonaws.com/tensor9-latest> > tensor9 && chmod +x tensor9 && ./tensor9 -action ApplianceSetup -setupKey 0000000000000011:36e44bed03372e554115fa8072e751e4 -autoApprove -gcpProjectId INSERT_YOUR_GCP_PROJECT_ID_HERE -cloudRegion gcp:INSERT_YOUR_GCP_REGION_HERE
...by setting the following parameters:
- INSERT_YOUR_GCP_PROJECT_ID_HERE: this is the project ID you set up earlier (“playht-onemedical” pictured below). If you forgot to save it, you can find it in the project selector pop-up like below:

- INSERT_YOUR_GCP_REGION_HERE: this is the desired region you want to deploy PlayHT On-Prem to (“us-west1” pictured below). NOTE: You cannot change your region once the script is started. If you want to change your region - please contact [email protected] for a new setup script.
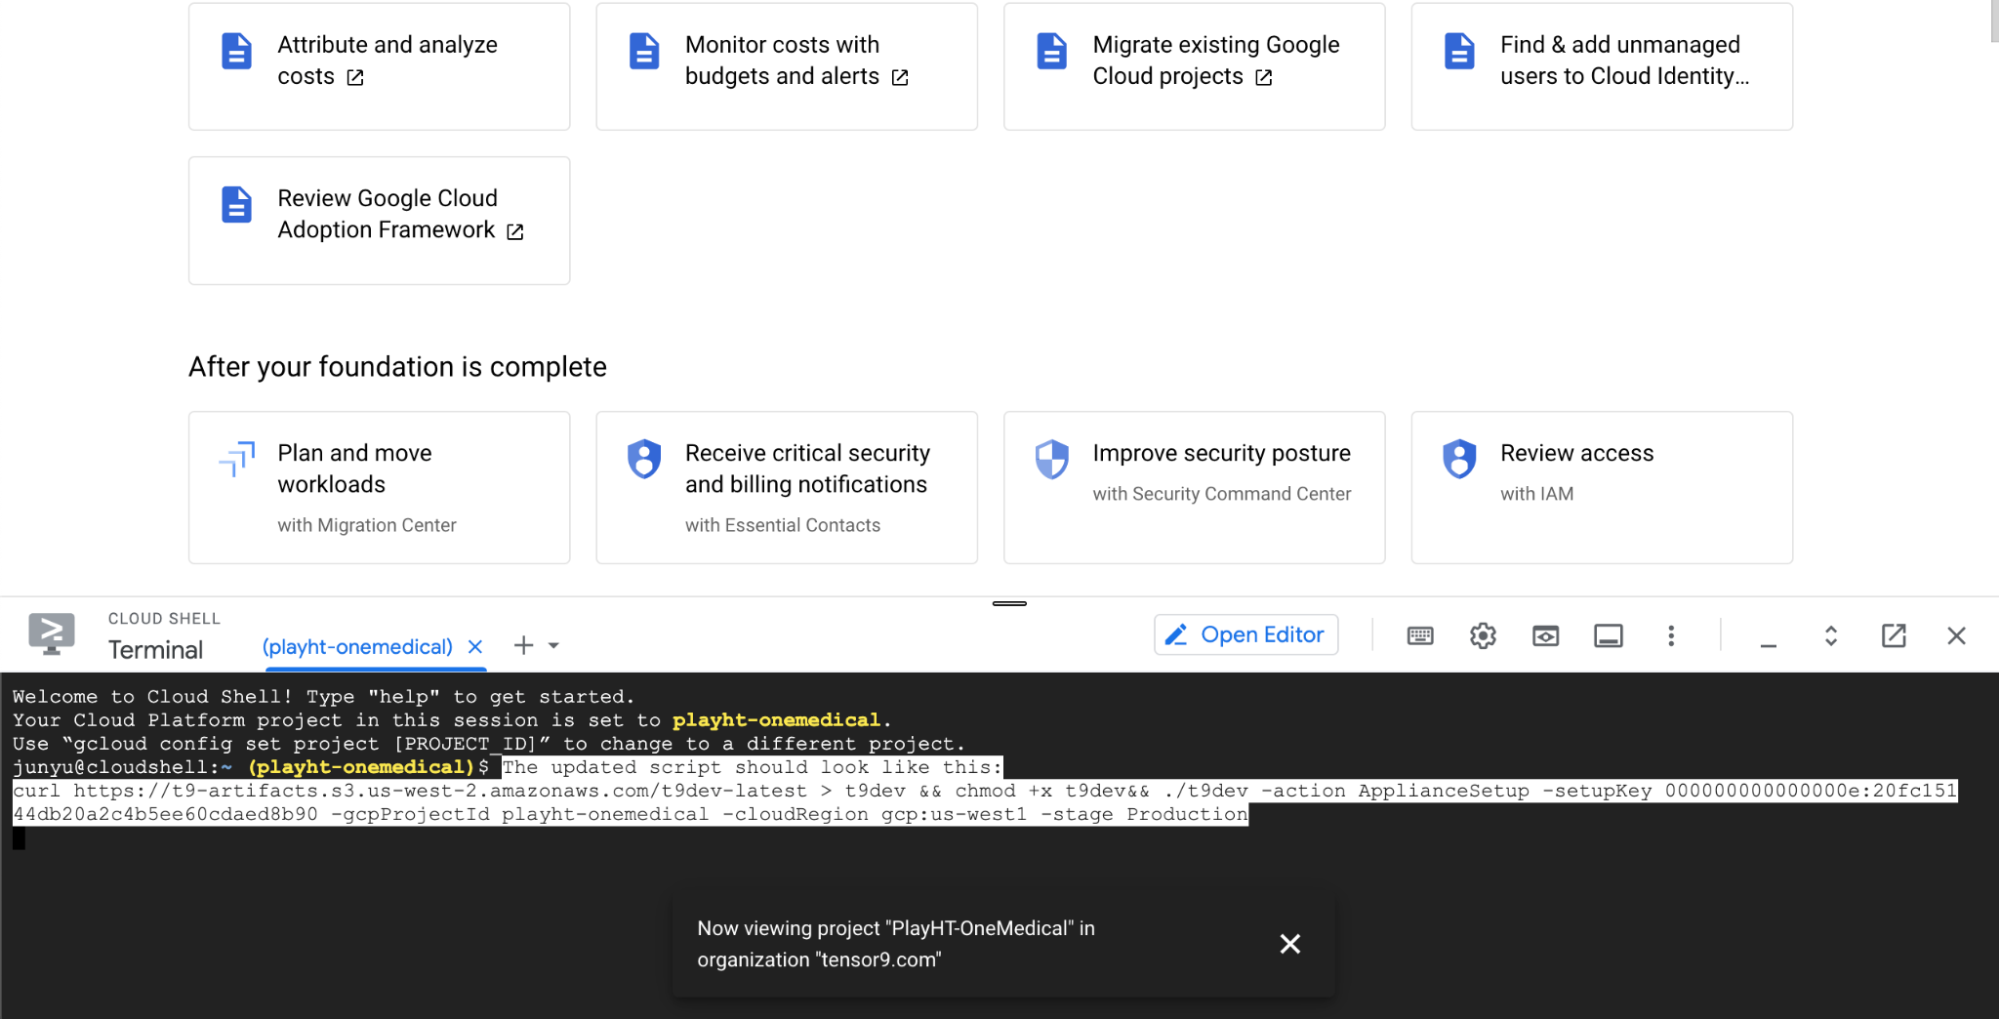
Your modified setup script should look like this:
curl https://t9-artifacts.s3.us-west-2.amazonaws.com/tensor9-latest > tensor9 && chmod +x tensor9 && ./tensor9 -action ApplianceSetup -setupKey 0000000000000011:36e44bed03372e554115fa8072e751e4 -autoApprove -gcpProjectId playht-onemedical -cloudRegion gcp:us-west1
Run the setup script in the Google Cloud Shell:
- With the new project selected (“PlayHT-OneMedical” pictured below) selected, open a Google Cloud Shell by clicking the terminal icon in the upper right corner:

- You should now see the Google Cloud Shell at the bottom of your browser. Paste the setup script into the Google Cloud Shell:
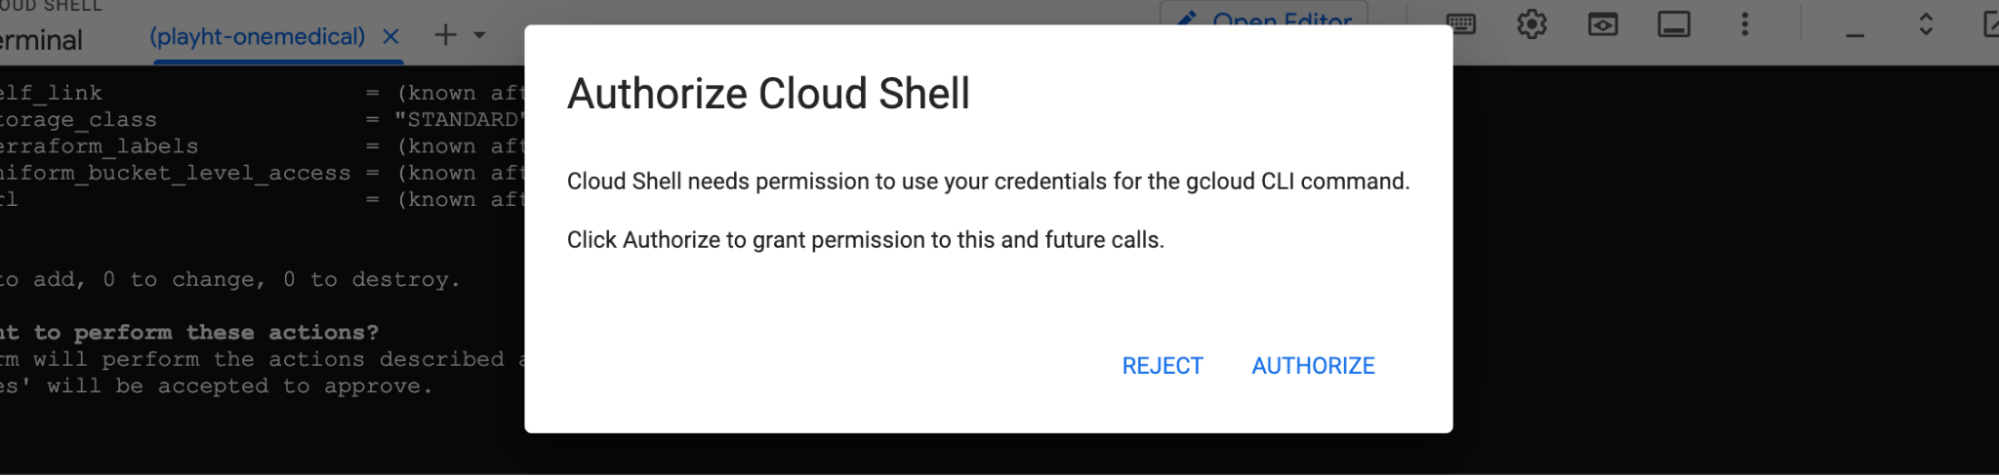
- You’ll see an Authorize Cloud Shell prompt. Click AUTHORIZE:
If you are curious, it’s running Terraform. You can see how your appliance is created in Terraform’s output.
Fourth: Wait for setup to complete on its own
The setup script can take up to 15 minutes to create your PlayHT On-Prem appliance. When creation is done - you’ll see the following output:
You’ve successfully finished your part of the setup process! Your new appliance will finish provisioning on its own (takes several hours). We’ll send you an email when it’s ready.
Your part is now done!
Your new PlayHT On-Prem appliance will finish provisioning on its own. This can take several hours. When it’s ready, you’ll receive an email with your appliance’s endpoint, and instructions about how to send API requests to it.
If you have any problems during setup - please reach out to [email protected].